Almost all skateboard manufacturers offer or at least try to provide skateboards with creative and unique deck designs. Still, if you want to redesign it to your standard, the possibilities are limitless.
If you also wish to create your very own custom-painted skateboard deck, you should first learn how to paint a skateboard. The painting procedure is fairly easy and simple. It’s just playing with different colors, right?
But if you wish to makes your skateboard really stand out, some basic knowledge about painting comes second to none. This article will guide you through all different steps and in-depth practical knowledge on how you can paint your skateboard. Stay on board!
Is It Okay to Paint Your Skateboard?
Of course it is! Painting your skateboard is like painting any other plain surface.
There are many types of skateboards indeed, and they come in different designs, features, and shapes. And no matter what your height, weight, and preferences, you’ll easily find the different quality skateboards based on your needs.

From right size skateboards for big guys or gals to short people, you’ll find skateboards in a wide variety. In addition to the wide range of availability, them being customizable make skateboards super trendy as well.
That means, if you wish to change the color, repaint the deck, or even customize deck paint, you’re free to expose your creativity. You can apply both spray-painting or hand painting- basically anything you like.
In short, with the use of the right materials, tools, and techniques, anybody can change their skateboard skin.
What Kind of Paint Is Used on Skateboards?
Skateboard manufacturers use different types of painting methods and paints to curve in an attractive look. Most of the manufacturers use paints like-
- Water-based paint
- Silk screen paint
- UV paint, and
- Transferred by heat.
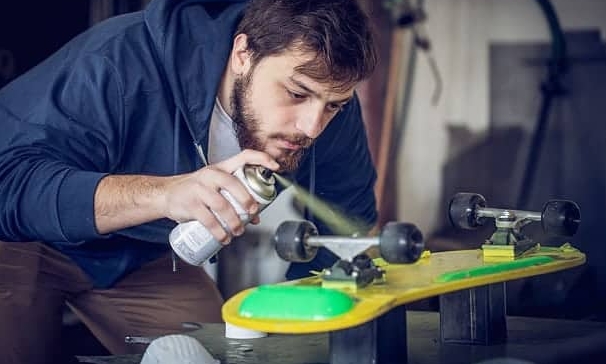
Moreover, you can paint your skateboard through acrylic and spray paint. These two paints deliver quite attractive colors with top-notch finishing.
Here I’ll introduce you to these two paint mediums that you can use to repaint your skateboard. Have a look:
- Acrylic Paint: Acrylic paint is a great option if you want to paint your deck with some creative art design. This painting method will let you use brushes to make unique, precise designs in your deck manually.
- Spray Paint: Spray painting is another painting method usually used to create a solid base color alongside a graffiti look. It’s relatively easy to paint a deck with spray paint, and later in this article, you’ll have a reliable idea about spray painting.
How to Paint Skateboard?
You don’t have to be a super creative and skilled artist to paint your skateboard. All you need are the necessary tools and equipments, and you’re ready to go!

And of course; apart from tools and materials, you also have to follow proper painting methods. Well, you can get an idea about the required tools, materials, and step-by-step painting methods by following the section below.
Tools and Materials Required
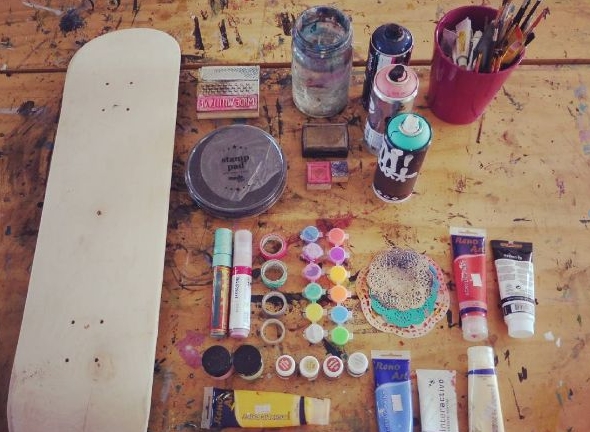
Before proceeding to the skateboard painting, you must arrange all the necessary equipment to ensure effortless painting. So what materials and tools exactly do you need to perform skateboard deck painting? Follow the section below to discover it.
- Sandpaper
- A Stiff Bristle Brush or a Rag
- Painters Tape
- Aerosol Primer or Any Primers
- Stencil
- Spray Paints or Acrylic Paint
- Synthetic Paint Brushes (for acrylic)
- Clear Coat
- Safety Gear
Steps to Paint Skateboard
Once you’ve arranged all the necessary tools and materials, the next thing you have left is to paint. Here we’ve included step by step procedure, have a look:
1. Remove All the Accessories
Before proceeding to the printing process, the very first thing you have to do is organize the painting area. Try to choose an area with enough ventilation and also ensure all the necessary safety gear like a protective mask and goggles.
Once you prepare the area, next remove all the skateboard accessories like trucks, wheels, nuts, bolts from the board. Remove all the parts attached to the deck and store them in a safe place.
2. Perform Sanding
Sanding is a crucial part of painting hard surfaces, and the same goes with starboard deck. You have to sand down the old faded design and prepare the deck for repainting. However, if you’re not sure about the sanding process, follow the section below:
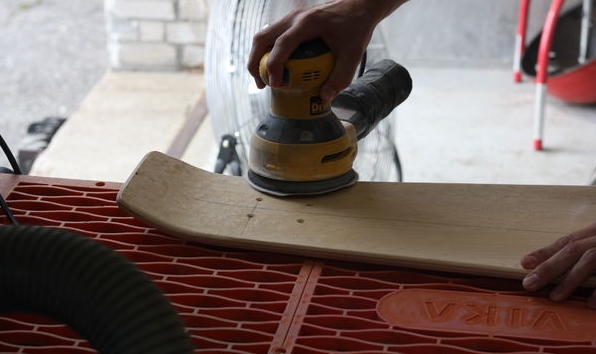
- Wear safety gear like protective glass and protective gear, then use 320 or 400 sandpaper for manual sanding.
- Or, if you’re using an electric sander, use 40-grit sandpaper to remove the old faded design and 150-grit sandpaper to smooth the surface.
- Follow a circular motion while sanding the deck and avoid sanding uneven surfaces that can damage the deck.
- Once you remove the old faded design, use a stiff bristle brush or a rag to element the existing sawdust.
3. Tape the Screw Holes and the Sides
After sanding the deck appropriately, now use painter’s tape to tape all the sides and screw holes. Painter tape will be a good option as it’s easy to take off when necessary, and masking tape would be the best alternative.
Tape all the necessary places, which will let you avoid painting mistakes.
4. Apply Primer
Applying primer over the surface you’re about to paint is a mandatory step you must follow. There are many types of primers, and using aerosol or a hand primer would be the best option. Follow the steps to learn how to apply primer:
- Aerosol primers are most reliable, and you have to spray the primer evenly throughout skateboard surface.
- Wear protective gear and spray the primer from at least 5 or 6 inches away.
- Give two or three coats depending on the boards conditions. None of the coats should be too thin or too thick. The coats need to be perfect enough that cover all the areas.
Be sure to take a break of at least 20 to 30 minutes before applying the next coat.
5. Smooth the Deck
Once you apply enough primer, the next thing you have to do is re-sand the deck surface to smoothen the surface. To do this, you have to use 150-grit sandpaper. Here are the re-sanding steps you have to follow:
- Use 150-grit sandpaper and sand the deck in a back and forth motion.
- Sand properly to remove bubbles and blisters.
- Once you’re done, use the brush or rag to eliminate the remaining sawdust.
After removing all the remaining sawdust, use a wet rag or cloth and perform sanding through it. Let the deck dry properly after wiping it through a wet cloth.
6. Prepare Your Deck
It’s time to prepare the deck, which means you have to create the design you’re going to put on your deck. Here is the thing, you have to prepare the deck based on your painting procedure.
Different paintings require different deck preparation. Have a look:
- Acrylic Paint: If you prefer acrylic painting, you have to sketch your desired design over the deck.
- Spray Paint: For spray painting, based on your design or art, apply the stencil. Suppose you want to apply three layers of paint, then you have to put a stencil after completing each layer.
7. Apply the Paint
As we’ve already mentioned, there are two different skateboard painting mediums, and we’ll show those two discussed below. Have a look:
Acrylic Paint:
If you prefer acrylic painting, you have to use a brush to perform the painting. We’ll show you the acrylic painting through some steps. Have a look:
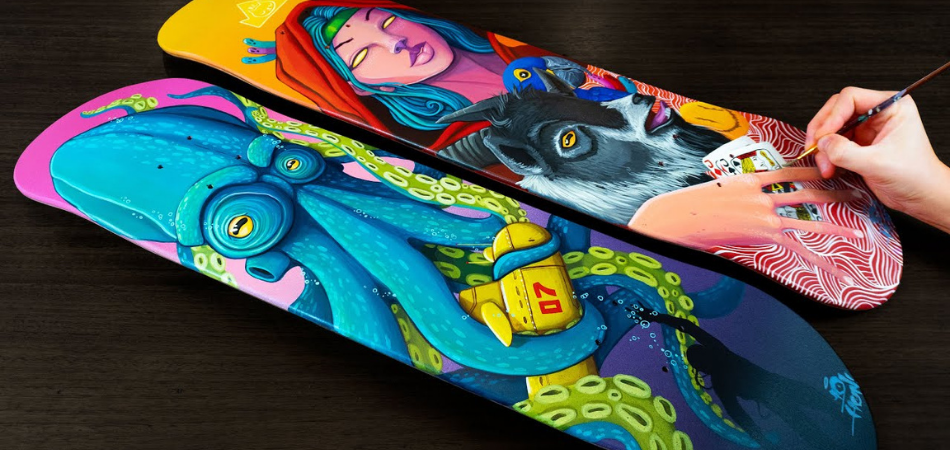
- First, apply a base color on your skateboard’s background, and the color can be white or black. Make sure to apply the perfect amount of base color; two or three coats would be enough.
- Next, draw your desired design with a pencil, or you can also use tape or stencil to copy your design.
- Now use synthetic paint brushes to apply the acrylic paint over the deck. And after finishing the whole design, don’t forget to apply clear sealant or sealer, so that the paint lasts longer.
Note: When it’s about applying different colors to your deck, tape all the areas for your base design, then apply paint and let it dry. After drying the base design, then tape the base design to apply the second color, and you’ve to follow the same for the third or fourth color.
Once you make a design and tape the area properly, it’ll be easy for you to draw the acrylic paint with synthetic paint brushes.
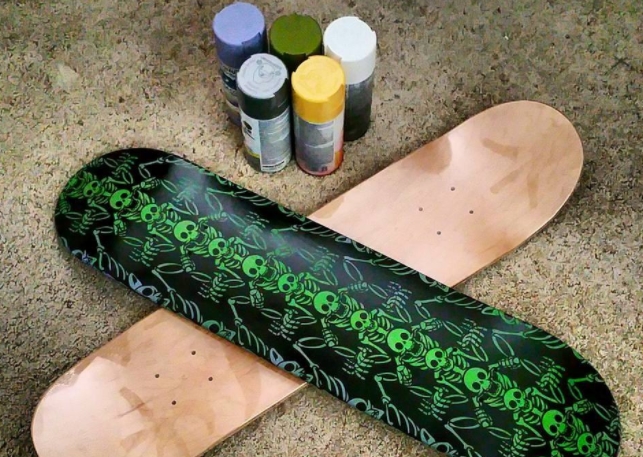
Spray Paint:
On the other hand, if you want to apply spray paint, first, you need to wear some safety gears. And to learn how to spray paint a skateboard, follow the section below:
Apply the Base Paint:
You have to start with applying base paint for spray painting, either white or black. Choose the perfect background color based on your design or the paint color you’re about to apply.
Apply Tape or Stencil in the Deck:
If you want to spray the deck with two, three, or even four-color spray paint, you have to apply tape or stencil on your deck for each color. That means for three colors; you have to put tape or stencil three times.
Or, if you want to put a simple design on your deck, then attach your tape or stencil design over the deck. Apply at least two coats for each color, and don’t forget to let the paint dry appropriately between each coat.
Remove the tape or stencil:
Once you complete painting your skateboard deck, the next thing you have to do is remove the tape or stencil. Simply drag the tapes or stencil one by one and remove all the remaining parts.
Next, apply a clear coat that will help to increase spray paint lifespan.
8. Re-Install the Trucks
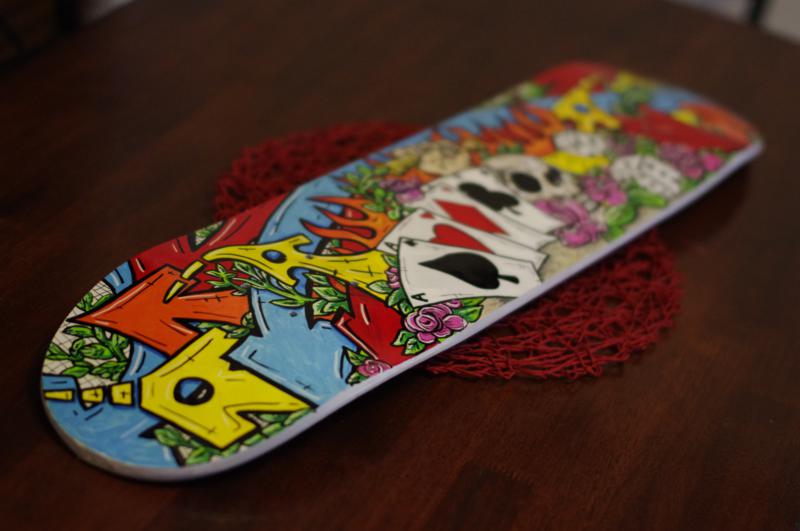
Last but not least, once you complete the painting process, let it dry for at least 24 hours. And when you see the deck is dried thoroughly, reattach all the accessories, double check everything, grab your skateboard, and go for a ride!
Note: As you can see, painting your skateboard is not tough if you arrange all the required materials and follow appropriate procedures. However, the repainting process can take time, so prove your patience and give your deck your preferred design.
How to Make Your Skateboard Paint Last Longer?
Sometimes only knowing the painting process is not enough; you also have to know the painting maintenance tips. In that case, you can follow the section below to learn how to make your skateboard paint last longer:

- Choose a Particular Painting Medium: One of the critical tips to make your skateboard paint last longer is following the appropriate painting media. Don’t use any wrong approach that doesn’t suit your deck material. Also, always let the deck dry properly before applying another coat.
- Apply Sealer: Applying sealer or a clear coat is another mandatory factor that you must follow to increase your paint’s lifespan. The use of a sealer or clear coat will make the skateboard paint resistant to water, dust, and even scratches.
- Weather Condition: Most people don’t know that, but you should not apply paint in wet weather conditions. And always let the deck dry and apply a sealer, paint, and let it dry under broad daylight.
- Let the board dry: Once you complete the repainting, it’s good to let the paint dry. 24 hours would be more than enough. Or you can also let the deck dry overnight. Keep in mind to ride your skateboard after drying it properly.
- Avoid Skateboarding in Wet or During Rain: No matter if you apply a sealer or clear coat, it’s always a good idea to avoid skateboarding in wet or rainy conditions. Skateboarding in wet or rain can damage the deck paint and other accessories as well.
Note: These are some of the tips that you can follow to make your skateboard paint last longer. Always try to wipe out and remove all the dust and other elements from the deck after skateboarding. And also store the skateboard after cleaning it properly.
Final Words
It’s only natural to expect to have a nice and attractive skateboard that stands out among others. And you’ll find many retailers and services that offer custom-designed skateboards with different cost ranges.
However, since now you know how to paint skateboard, you can save that cost by doing it yourself, and ensure the top quality at the same time. All you have to do is arrange all the required tools and materials and follow the proper technique.
Simply pick your desired design and put it on your skateboard by following the provided guidance. Also, follow the tips I mentioned here to make your skateboard paint last longer. Ciao!